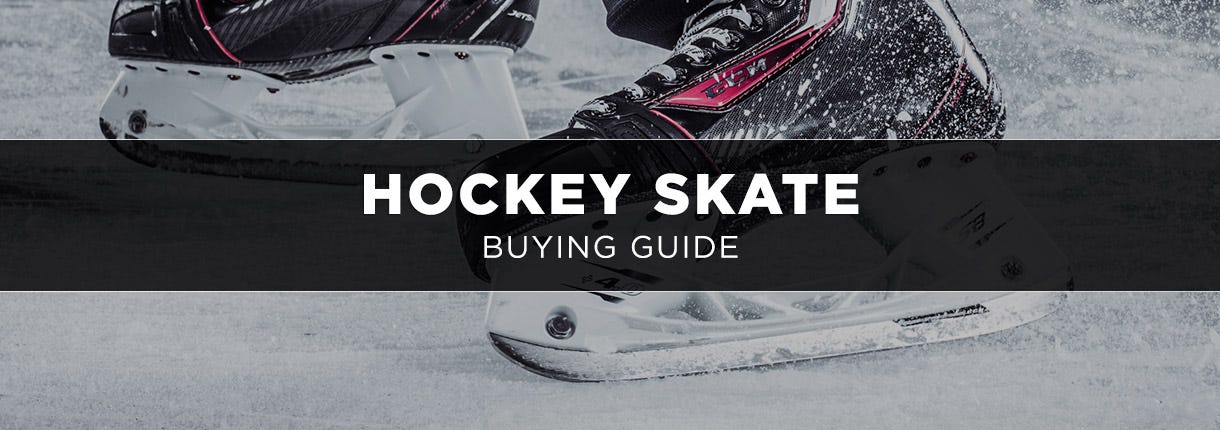
You've Purchased New Skates - Now What?


It is no secret that over the years the price of ice hockey skates has steadily risen. Now they are investments, meant to last for years. So, as a new skate buyer, what can you do to ensure you get the most life out of your skates as possible? This article will go over the process, from start to finish, on how to achieve just that!
- Heat Molding Your New Hockey Skates
- Sharpening Your New Hockey Skates
- Lacing Your New Hockey Skates
- Proper Care Of Your New Skates
- When to Replace Your Skates
Step 1) Heat Molding Your New Hockey Skates
After purchasing a brand-new pair of skates, it is recommended that you get your skates baked, or in other words, heat molded. However, it is important to note which skates can and cannot be baked. All skates can physically be heat molded, although due to the inner liner and materials of mid to high end skates, they will react much better than lower-end skates when it comes to break-in periods and fit. Baking low-end skates can have the opposite effect. Due to lower-end skates not having the same quality materials in the interior of the boot, baking them can cause them to break down faster and decrease the support within the skate. It is recommended that this process be completed by trained MonkeySports staff.
Baking skates is a common process that helps to break the skates in faster, meaning less time to get rid of that rough “new skate feel.” This process also allows for the inner liner of the skate to better form to your exact foot shape, thus eliminating any negative space within the boot and maximizing your energy transfer in each stride.
After determining whether you want to proceed with the baking process, the MonkeySports staff will then take your skates and place them into an “oven” and let them sit in there for right around three minutes. Following this, you will immediately put the skates on your feet, quickly but carefully lace them up, and sit stationary for seven minutes. Around the seven-minute mark, you can stand up and walk around to let the skates loosen up a little bit. After the process is complete, it is recommended that you wait a full 24 hours before skating in them.
Following the heat molding process, if you still have any type of pain in your feet while wearing your skates, it could mean that the fit of the skate does not match with the shape of your foot. Certain skate models have a narrower fit while some have a wider fit, so when shopping for skates it is important to talk to one of the specialists at your local MonkeySports shop to determine which model will be your best option. Bauer’s 3D foot scanner is also a great tool to help point you in the right direction, and they are available for use at every MonkeySports store! Another viable option if you still have minor pain would be to rebake the skates. Although, if you choose to rebake the skates, it is recommended that you only do it that one other time. Doing it more than two times could negatively affect the integrity of the boot, thus decreasing longevity.
Step 2) Sharpening Your New Hockey Skates
Once your skates have been heat molded, the next order of business would be to get your blades sharpened.
How Sharp Should My Hockey Skates Be?
When you arrive at the sharpening area of your local MonkeySports store and tell them you need your blades sharpened, their next question will almost always be, “What do you want them cut at?” But, what exactly does this mean? This essentially means what do you want the radius of the hollow cut. The sharpening process consists of a hollow groove that is cut in the middle of the bottom of the blade, thus forming the two edges on each side. Typically cuts range from 1 inch to 3/8’s of an inch, with each one having their own pros and cons. If you get them cut at a 1-inch radius (very flat hollow) it will increase top end speed and glide and cause less fatigue, but it will also negatively affect your ability to turn and stop on a dime. The opposite end of the spectrum, a 3/8ths inch cut, will give you the ability to make quick turns and accelerate faster, but since your edges are digging deeper into the ice, you lose out on a little bit of speed and glide. It is all a matter of your playstyle and preferences.
How Often Do I Need to Get My Skates Sharpened?
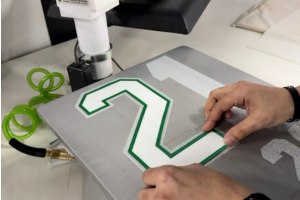
Frequency of blade sharpening is up to player preference and how often you are on the ice. Some players might want them sharpened after every game, but other players might get them sharpened once every three months. A general rule of thumb is every 12 hours of use. Certain instances, though, can cause you to need a sharpen to make them skateable again. For example, you will want to avoid surfaces like concrete and metal drains in locker rooms. These types of surfaces will knick the blade, giving you an unbalanced skating surface. Occasionally, during play, your skate blades will get knicked due to things like the boards, goal posts or other skates. If this is the case, you can pick up a handy tool such as the Blue Sports Sharp Styck, which will help eliminate any small blemishes on the blade, although this will not suffice as a “regular” sharpening. Blade quality will also play a factor into how often you need to get them sharpened. Aftermarket steel such as BladeTech or Step Steel is constructed of harder materials and feature an outer coating on the blade to increase longevity.
How Can I Tell If My Skates Need Sharpening?
If you are not on a schedule, the common way to tell if your blades need to be sharpened is the age-old “fingernail” test. For this test, you will want to lightly run your fingernail across the edge of the blade. If your nail does not get “caught” on it, and runs easily across it, that means your blades could use a sharpening. Another simple way to check would be to simply just run your finger along the top of the blade very lightly. If you do not feel an edge, and feel nicks or rounded areas, then that is another indication that your blades need sharpened. Be extra careful any time you make contact with your fingers against the steel runners.
Step 3) Lacing Hockey Skates
Skate Lace Types
Following the sharpening, you will probably want to relace the skates to your preference with either the same laces or with new skate laces. There are two different options you can go with when choosing laces: waxed laces or non-waxed laces. Both have their pros and cons.
Waxed Skate Lace
Waxed laces have a better tendency to stay tight after being tied and tend to last longer, as well. They are easier to grip and tie, giving you a more controlled feel in specific areas. On top of that, they feature fused tips, meaning they won’t fray and become difficult to get through eyelets. On the downside, they can sometimes be hard to untie, can be uncomfortable to the touch, and get stiff in the cold, giving them the potential to snap.
Unwaxed Skate Lace
Some advantages of non-waxed laces are they are inexpensive and soft to the touch. Disadvantages include being harder to get tight and stay tight, they are not as durable, don’t have fused tips and fray after a while, and are susceptible to water soak.
Skate Lace Methods
After determining what type of laces you want to go with, you will want to determine the best way to lace up your skates. There are various methods, but the most common are the inside criss cross and the outside criss cross.
Inside Criss Cross
The inside criss cross is a simple criss cross with the laces going through the inside of the eyelets. This process consists of taking one end of the lace and stringing it through the inside of the corresponding eyelet on the other side of the skate. Do this process, alternating each lace, until you reach the top. This style is the quickest and easiest to complete.
Outside Criss Cross
Another option would be the outside criss cross. This process is the same as the one before, but instead of going through the inside of each eyelet, you would feed the lace through the outside of the eyelets and repeat this process all the way up to the top. The benefits of this would be that you get a tighter hold than going through the inside. This process is quick and easy to complete, as well.
Step 4) Taking Care of your Hockey Skates
After finishing up a skating session, you will want to do more than simply just throw your expensive skates in your equipment bag and be on your way. Treating them properly is essential if you want to get the most longevity out of them.
To start, one thing that you will always want to do is remove them (along with all other equipment) from your hockey bag and let them air dry. This will help air circulate around them and help them dry faster. You can also use a few sprays of CaptOdor in each one before going on your way. This spray helps to eliminate odors, keeping your skates fresher, longer. Another helpful tip is to remove the footbeds from the skates. Not only will this give them a chance to air dry, but it will also eliminate the chance of any rust forming on the tops of the rivets that attach the holder onto the bottom of the skate. These can also be sprayed with 1-2 sprays of CaptOdor for good measure. Lastly, when removing your skates from your bag and letting them air dry, be sure that the area they are in is not too hot and humid. Storing them in areas like this will cause the drying process to significantly slow down or even stop. If this is unavoidable, it is recommended to use a blow dryer, on a cool setting, to help speed up the drying process.
Not only are the skates themselves important, but the blades on them are just as important! After getting off the ice and removing your skates, you will want to use a pair of A&R Tuffterry blade soakers to wipe off your blades, ridding them of any remaining ice. This prevents against any rust from forming. From there, I like to let the skates lie on top of the blade soakers while I get the rest of my gear off, giving the blades the time to air dry. After this is when I put on my blade soakers.
If you should need to replace your steel due to rust or cracking, the Bauer LightSpeed EDGE holders make it a seamless process. Simply press the grey trigger on the back of the holder, firmly pull up on the back of the blade, and it should pop right out. After finding steel that is compatible with the EDGE holders, such as Step Steel, BladeTech, or Massive Steel, insert the front portion of the blade into the holder first, then move to the back and use a cloth overtop to firmly press until you feel it pop into place. For the CCM SpeedBlade 4.0 holders, you will insert a flathead screwdriver into the corresponding side, use a set of pliers on the other side of the screw, turn the screwdriver until the screw is loosened, and proceed with the same process on the other screw.
You will also want to ensure that you select the correct size steel. On the bottom of your holder, you will find a three-digit number that indicates the size steel you will need.
When to Replace Hockey Skates
At some point in your hockey playing career, you will unavoidably need a new pair of hockey skates. So how do you know when that time has come? While there is not a set number of hours you should skate in them before it is recommended to get a new pair, there are a few clear signs that will help you determine if you need to purchase a new pair.
Typically, it all comes down to how often you skate and the level of competition in which you are participating. Casual, rec league players might go decades with the same pair of skates, while kids playing competitive, AAA hockey will only go one season. The obvious factor is how they look and feel. All skates, regardless of if they are entry level or pro level, should have some level of stiffness to them. You do not want the boot to bend or change shape much while skating. If the boot feels “flexible,” then it might be time for a new pair. The other indicator is how they look. While they will inevitably get scuffed up over time, if you have pieces of the sides of the boots ripping off, or holes anywhere on the skate, that is another key sign that you might need a new pair.
Some people might stick with the same pair for years because they love how they feel and fit, but disregarding both aforementioned issues can result in declined skating ability and protection.
Buying a new pair of hockey skates can be a little bit overwhelming, regardless of age or experience. There are multiple different processes you must complete in order to get them exactly how you like: baking them, determining how you want them sharpened, choosing the type of laces you want, and so on. While there is not one perfect pair for everyone, throughout this guide, our goal was to give you as much information as possible to aid you in the skate buying process. After reading through, and after getting your skates how you like, you are now ready to get out there on the ice and score some goals!