Hockey Equipment Guides & Pro Tips
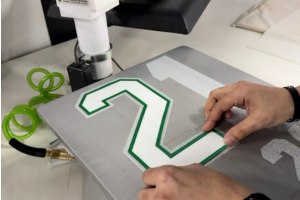
Need names, numbers, or a custom logo on your jerseys? We got you.
Whether you're gearing up for hockey season, outfitting a baseball organization, getting a lacrosse
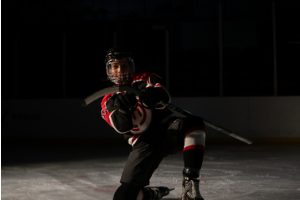
If your child just announced they want to play hockey, you are probably excited—and maybe a little overwhelmed. Between equipment, skating lessons, costs, and understanding
Quick Answer
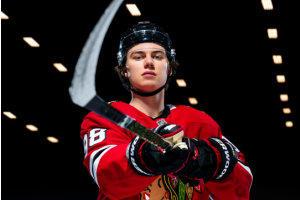
When Auston Matthews scored four goals in his first NHL game, he became the first player in the modern era to score four times in his NHL opener, and
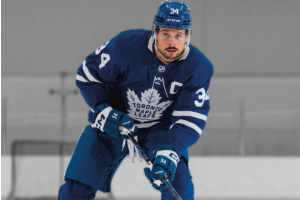
What separates the NHL's elite from everyone else? It's not just raw talent—it's the ability to think at top speed, combining exceptional hockey IQ with efficiency
Most recreational players obsess over shot velocity — the harder, the better. But here's what separates beer league heroes from NHL snipers: elite scorers know that
The CCM JetSpeed FTW Pro is engineered with a hybrid kick point, soft RR-95 blade, and round "R" shaft geometry to provide ultimate feel and response for female
When you're shopping for an elite hockey stick, three distinct performance philosophies emerge from Bauer's lineup. The PULSE, solving a problem that's existed since
The HockeyMonkey sales team helps you choose the right hockey gear across every category—from skates and sticks to protective equipment—by focusing on fit, performance,
MonkeySports and SidelineSwap are teaming up once again to bring Trade-In Days to select MonkeySports locations throughout 2026. These in-store events give athletes

Finding the perfect hockey Christmas gifts for players doesn’t have to be complicated. We pulled together the best hockey stocking stuffers of the season, all
Looking for the perfect gift for the hockey player in your life? Our 2025 Holiday Hockey Gift Guide has you covered with the best ice skates, sticks, gloves, helmets
The Bauer PROTO2 hockey stick sets a new benchmark for elite players in 2025. With its mid-kick design, upgraded blade core, and use of boron fiber, it blends explosive
The CCM JetSpeed FT8 Pro line continues CCM’s tradition of making gear for the player who wants a true all-around setup. Whether it’s the explosive energy in the
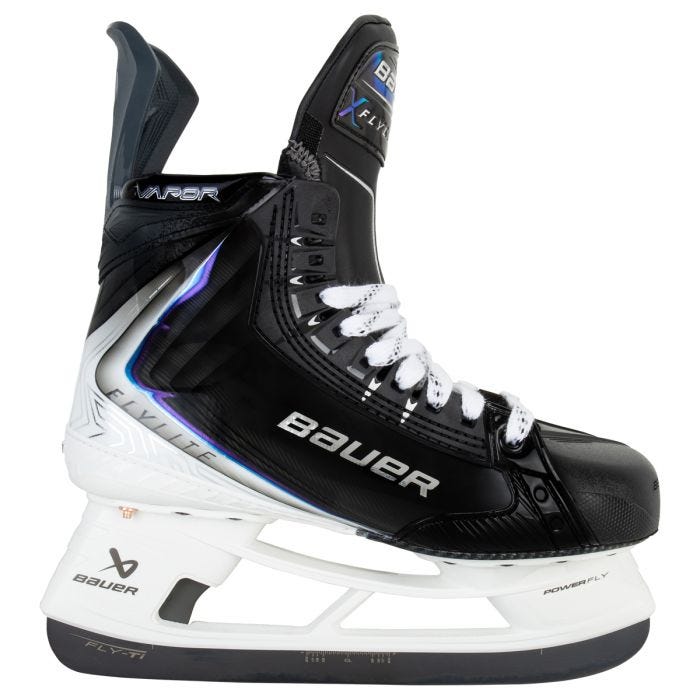
Bauer’s Vapor line has always been synonymous with quickness, agility, and elite-level responsiveness—and the 2025 Bauer Vapor Flylite line pushes that identity
Looking for the best junior hockey sticks in 2025? Whether your young player is just getting started or already making an impact on the ice, the right stick can
Pickleball is one of the fastest-growing sports in the world, and MonkeySports is excited to bring you a full lineup of pickleball gear! Whether you’re a beginner
In this article, we will disucss:
Choosing the right size of shoulder pads is crucial for any hockey player. Warrior, a renowned name in sports equipment, offers a variety of high-performance
Maintaining clean goalie gloves is crucial for optimal performance on the ice. Clean gloves ensure a better grip on the puck, which is essential for making saves
Maintaining clean goalie gloves is crucial for optimal performance on the ice. Clean gloves ensure a better grip on the puck, which is essential for making saves